How to Install a WOFF Font on Mac
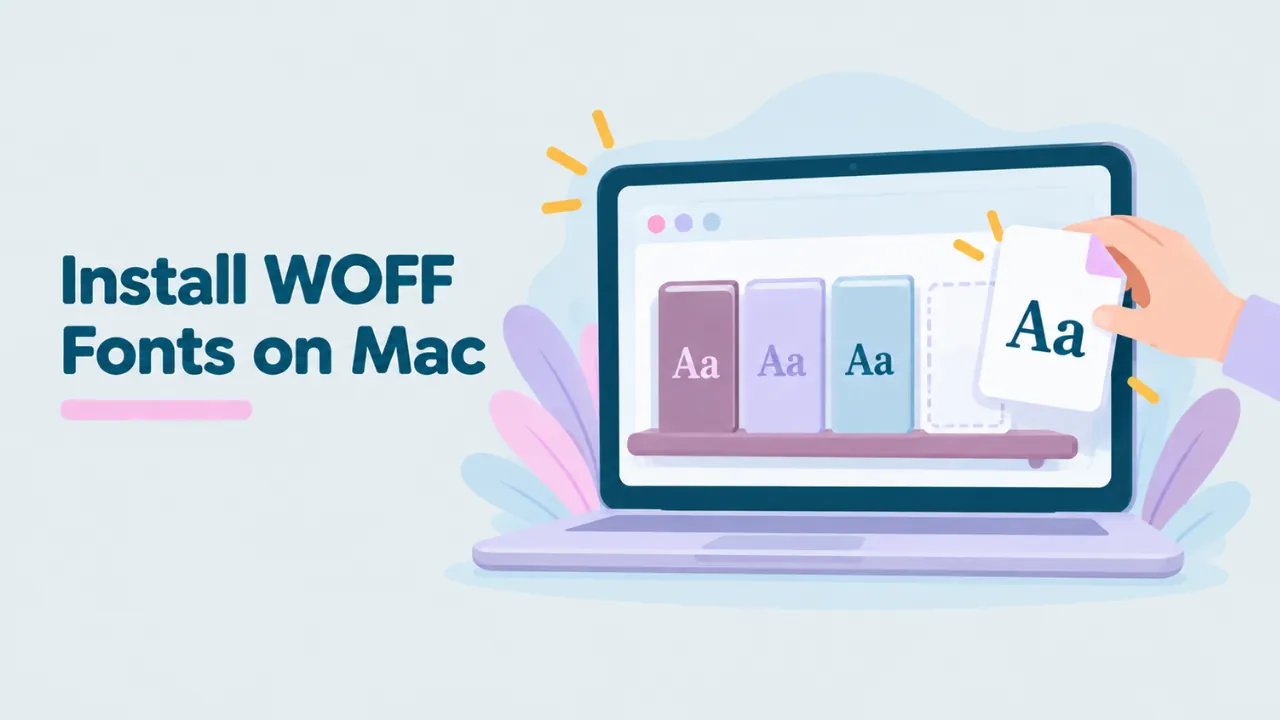
Font Book makes installing fonts on a Mac easy. Double-click, click Install, done. Unless the font is a WOFF or WOFF2 file. Then Font Book does nothing, or macOS asks which app to use. This guide shows you how to install a WOFF font on Mac the right way, and how to handle the warnings and duplicate issues that web fonts often cause.
Why macOS will not install WOFF fonts
macOS installs desktop font formats, mainly TTF and OTF. WOFF and WOFF2 are web formats. They hold the same kind of font data, but compressed and wrapped for websites. Font Book does not unwrap them.
So installing a WOFF font on Mac is a two-step job:
- Convert the WOFF or WOFF2 to TTF or OTF.
- Install the result with Font Book.
Converting does not change the font. It only removes the web packing. For the background, see what a WOFF file is.
Step 1: Check the font in a viewer
Open the file in the free WOFF viewer in Safari, Chrome or Firefox. Take a minute to check:
- The name and style. Is it the font and weight you want?
- The characters. Type your text and look for boxes.
- The license. Can you use it on your Mac and in your work?
If you see boxes or a low glyph count, the file may be a web slice, not the full font. Our guide on why WOFF fonts show boxes explains why.
Step 2: Convert to TTF or OTF
- With the font open in the viewer, click “Convert & download”.
- The button says .ttf or .otf. The tool picks the right one for your font.
- The file saves to your Downloads folder.
This works for WOFF and WOFF2. It runs in your browser, so your font is never uploaded. For the technical side, read how to convert WOFF to TTF or how to convert WOFF2 to TTF.
Try it: Convert your WOFF font to TTF or OTF, then install it in Font Book.
Step 3: Install with Font Book
- Open Finder and go to Downloads.
- Double-click the new TTF or OTF file.
- Font Book opens a preview window.
- Click Install.
The font is now installed for your user account. Apps like Pages, Keynote, Word and Adobe apps can use it after a restart.
Installing several files at once
If you converted a whole family, select all the TTF or OTF files in Finder, then double-click. Font Book opens them together. Or open Font Book and drag the files into its window.
Install for you or for all users?
By default, Font Book installs fonts for your user only. You can change this.
| Option | Folder | Who can use the font |
|---|---|---|
| User (default) | ~/Library/Fonts | Only your account |
| Computer | /Library/Fonts | Everyone on this Mac (needs an admin password) |
To change the default, open Font Book, go to Font Book in the menu bar, then Settings (or Preferences on older macOS), and change the Default Install Location.
Handling Font Book warnings
Font Book checks each font before installing it. Web fonts often trigger warnings, because they are trimmed to save space.
“Minor problems found”
You can usually install anyway. Tick the font in the list and click Install Checked. The font will work fine in most apps.
“Serious problems found”
The font may be damaged or missing important parts. It might still install, but it could misbehave. Try to get the font from its original source. If the viewer shows the family name, search for it.
Why web fonts get warnings
Websites often remove parts of a font that browsers do not need, like some naming records or hinting. Font Book expects a complete desktop font, so it notices the gaps. This is a hint that the full desktop version, if you can get it, will be better.
Dealing with duplicate fonts
If you already have a font with the same name, Font Book shows a duplicate warning. This is common when you install a web version of a font you already have from another source.
- Open Font Book.
- Look for fonts marked with a warning sign.
- Select the font. Font Book shows the duplicate copies and offers to resolve them.
- Choose to resolve automatically, and Font Book turns off the extra copies. Or resolve manually and pick the copy you want to keep.
The exact buttons vary a little between macOS versions, but the idea is the same.
Or, if you do not need the web version, simply remove it. Duplicates can make apps pick the wrong version.
Using the installed font
Apple apps
In Pages, Keynote and Numbers, select text, open the Format panel and pick the font. If you share a Keynote file, the other person needs the font too, or Keynote will swap it.
Microsoft Office
Quit Word, Excel or PowerPoint completely with Command and Q, then reopen. The font appears in the list.
Adobe apps
Photoshop, Illustrator and InDesign pick up installed fonts, sometimes after a restart. If a font shows under an unexpected name, search for the family name shown in the viewer. See how to find the font name inside a WOFF2 file.
Organize fonts with collections
Web fonts tend to pile up. Font Book collections keep them under control.
- In Font Book, create a new collection. Name it after your project, like “Client website”.
- Drag the fonts you installed for that project into the collection.
- When the project ends, you can deactivate the whole collection in one go.
Deactivated fonts stay on your Mac but disappear from app menus. You can turn them back on any time. This keeps your font lists short and your apps a bit faster.
A checklist for installing a font family
When you save several WOFF files from one family, run through this list:
- Open each file in the viewer and write down its Style.
- Make sure you have the styles you need, usually Regular, Italic, Bold and Bold Italic.
- Convert each file.
- Install all of them together in Font Book.
- Restart your apps.
- Test the Bold and Italic buttons in a document. They should switch to the real designs.
If a style is missing, apps will fake it by slanting or thickening the letters. That looks rough in print.
Installing without Font Book
You can also install a font by copying it into the Fonts folder yourself.
- In Finder, press Shift, Command and G.
- Type ~/Library/Fonts and press Return.
- Drag the TTF or OTF file into that folder.
The font is available right away, but you skip Font Book’s checks. Font Book is the safer route for web fonts.
How to remove a font
- Open Font Book.
- Find the font in the list.
- Right-click and choose Remove, or press Delete.
- Confirm.
Close apps using the font first. You can also turn a font off without removing it: right-click and choose Deactivate.
Common problems
Double-clicking the WOFF file does nothing
That is expected. Convert it first. You only double-click the converted TTF or OTF.
The font installs but does not show in my app
Quit the app completely and reopen it. Check Font Book to make sure the font is active, not deactivated.
The font has the wrong weight
Web fonts come as separate files per weight. Check the Style field in the viewer. Our guide on checking the font weight of a WOFF file helps you find the right one.
Some letters show as boxes
The font lacks them. Get the full version of the font if you can.
Is it legal?
Converting and installing is a technical process. Whether you may do it depends on the font’s license. Open-source fonts like those on Google Fonts are fine. Many commercial web fonts only allow use on one website. Check the license field in the viewer, and ask the font maker if you are unsure.
Common questions
Can Font Book install WOFF2?
No. Convert WOFF2 to TTF or OTF first.
Do I need an admin password?
Only to install fonts for all users on the Mac. Installing for yourself needs no password.
Will the font sync to my other Macs?
Not automatically. Install the TTF or OTF on each Mac. Check the license allows it.
Can I convert on my iPhone and install on my Mac?
Yes. Convert on your iPhone in Safari, then AirDrop the TTF to your Mac and double-click it there. Our guide on opening WOFF files on iPhone shows the phone side.
Does converting reduce quality?
No. The letters, spacing and names are unchanged.
Summary
macOS cannot install WOFF fonts directly. Open the font in a free WOFF viewer, check its name, characters and license, then click “Convert & download”. Double-click the new TTF or OTF and click Install in Font Book. Handle any warnings or duplicates, restart your apps, and the font is ready. For more ways to view fonts on your Mac, read how to open WOFF fonts on a Mac.